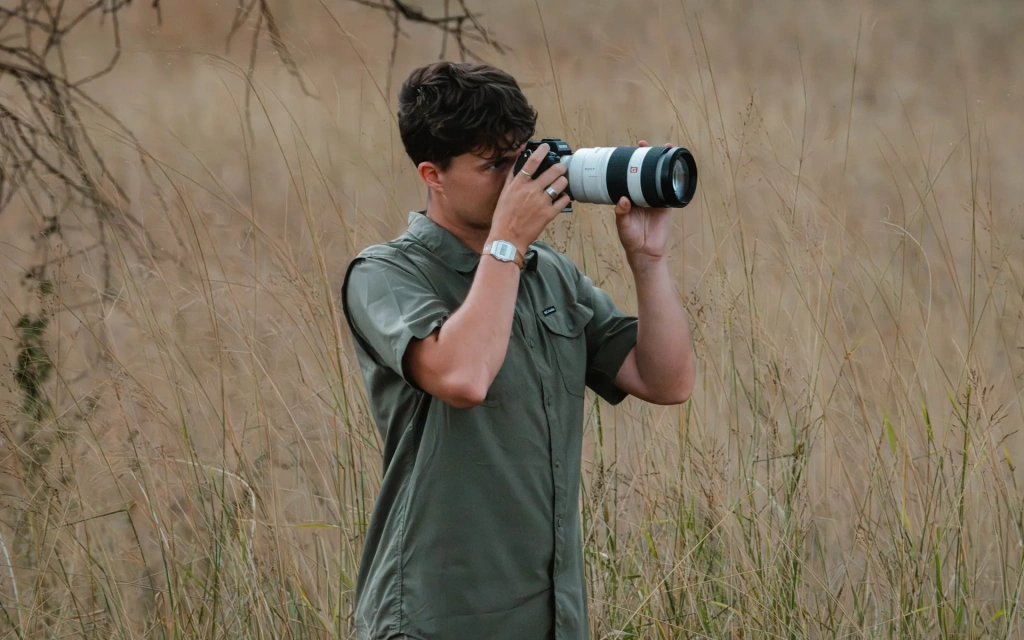
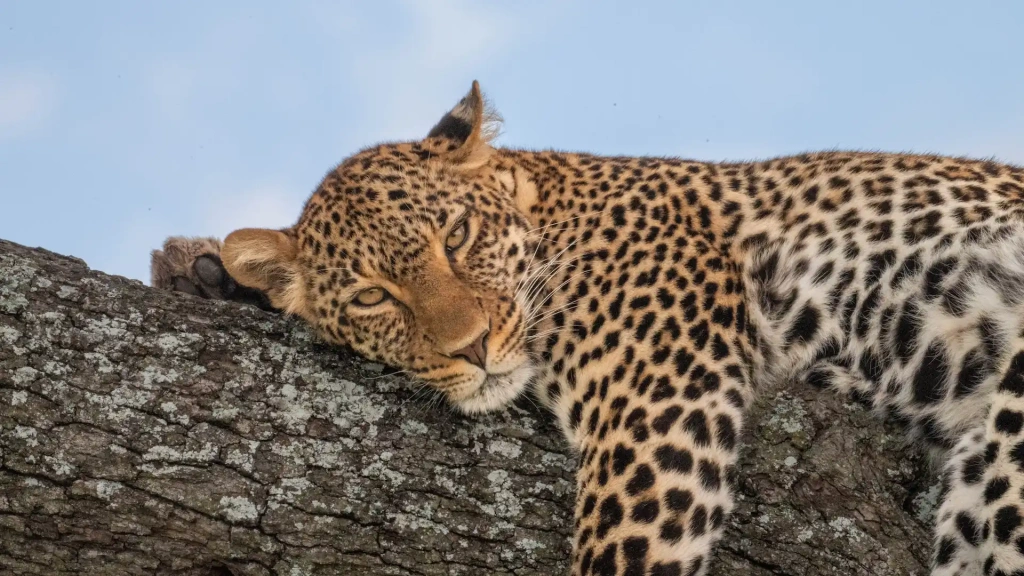
Capturing stunning wildlife photos takes more than luck — it requires technical know-how and the ability to react quickly to shifting light and movement. To help you get the best shots on your trek or safari, the Altezza Travel editorial team has compiled expert insights from seasoned travelers and professional wildlife photographers.
Choosing the right camera
For beginners in wildlife photography, choosing the right camera system depends on your priorities. Most modern cameras with interchangeable lenses are capable of capturing wildlife, but sensor size plays a significant role in performance.
Full-frame cameras offer the best image quality and low-light performance, but are heavier and more expensive.
APS-C cameras provide a great balance, with good image quality and extra reach thanks to the crop factor, while being more affordable.
Micro Four Thirds systems are compact and travel-friendly, with long-reach lenses, though they sacrifice some detail and low-light ability.
Superzoom bridge cameras are the most budget-friendly and easy to use, with very impressive reach, but they offer much lower image quality and slower performance overall.
Additional features that are highly desirable for wildlife photography include IBIS (In-body Image Stabilization) and an advanced autofocus system.
Key camera settings for wildlife photography
While smartphones can take decent pictures, they fall short when it comes to capturing fast-moving subjects, depth of field, and accurate color tones. To handle challenging shooting conditions, you'll need a camera with the right capabilities.
Automatic and semi-automatic shooting modes on modern cameras will generally choose decent settings. But if you want more creative control, manual settings can deliver better results. If you're ready to experiment, focus on these key parameters:
- ISO Range: A low ISO (100–200) gives you crisp, detailed images. In low light, you'll need to raise ISO, but higher values increase noise, adding grain to the photo.
- Aperture (f-number): Aperture affects depth of field. A wide aperture (low f-number like f/2.8 to f/5.6) produces a blurred background and helps your subject stand out — perfect for portraits or animal close-ups. A narrow aperture (f/8 to f/16) keeps the entire scene in focus, ideal for landscapes or group shots.
- Shutter Speed: Controls how movement appears. Use a fast shutter speed (1/500 sec or faster) to freeze action; a slow one (1/30 sec or slower) works for landscapes or night shots.
Nature doesn’t wait for the photographer, and scenes can change in an instant. That’s why burst shooting speed is another crucial feature.
“At least 10 frames per second would be kind of a minimum for me...and 20 or more is even better,” says Jeff Schultz, renowned American wildlife photographer and official photographer of the Iditarod sled dog race, as quoted by Adobe.
In wildlife photography, autofocus with eye and face tracking is extremely helpful. Modern cameras can follow subjects even at a distance, keeping them sharp in the frame. Using continuous focus modes like AI Servo (Canon) or AF-C (Nikon and Sony) ensures the camera maintains focus on moving animals.
Choosing lenses with the right focal lenght
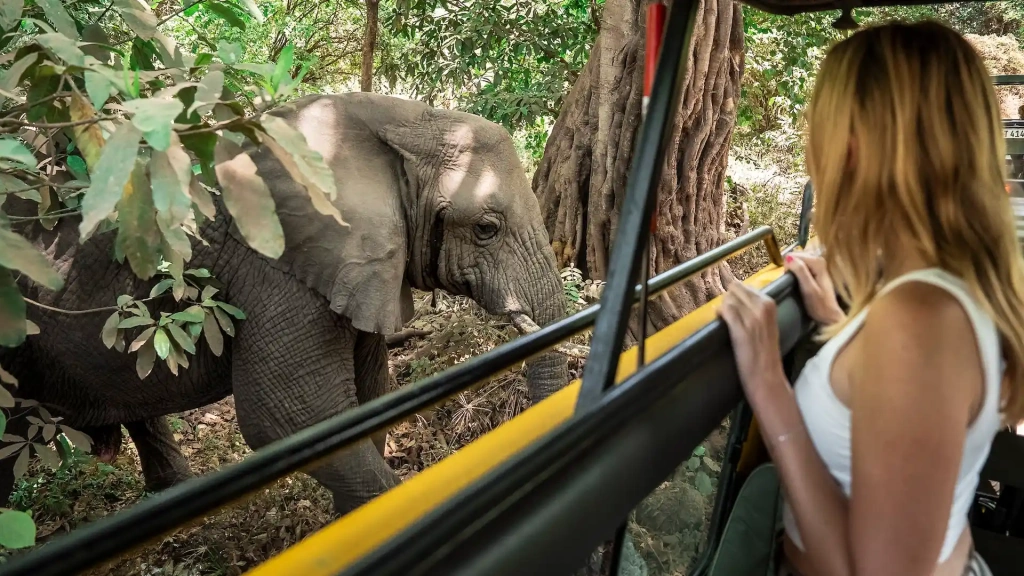
- 70–200mm: Ideal for close-range encounters, such as animals approaching your vehicle. Great for portraits and medium-distance shots.
- 100–400mm: A versatile option for most safari situations. Works well for both animal portraits and scenes that include landscape elements.
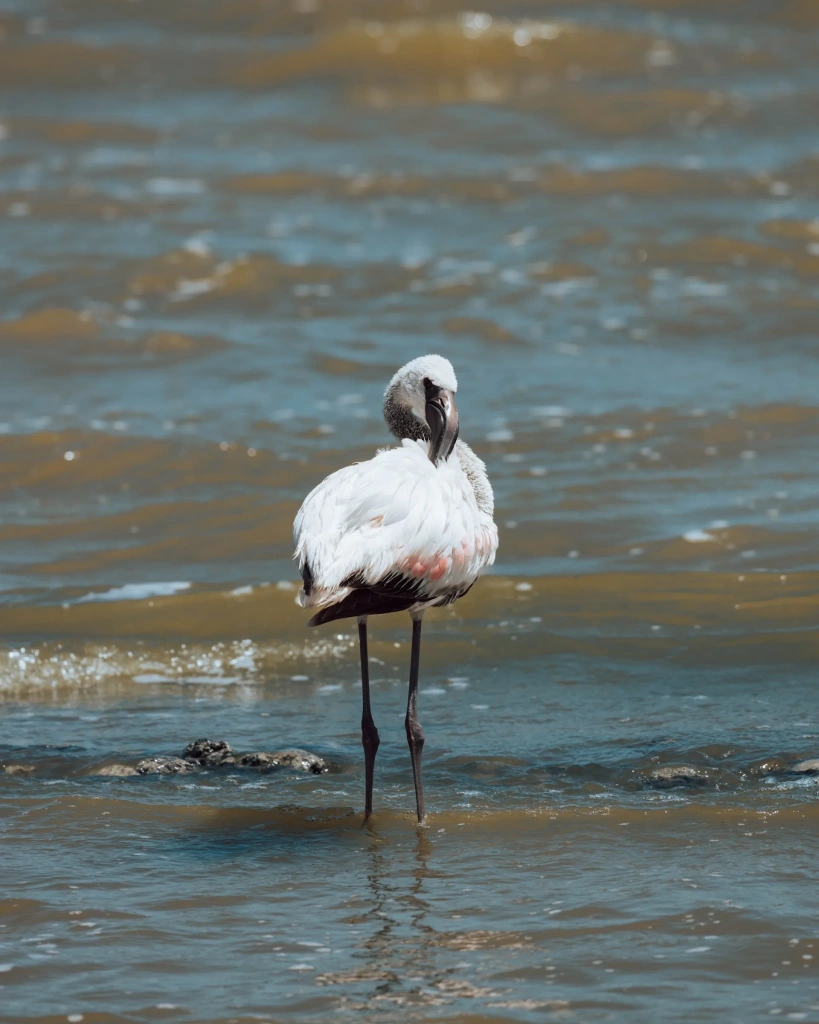
- 600mm: Best for distant subjects like birds or animals on the horizon. Delivers tight framing without disturbing wildlife — though it requires strong lighting and image stabilization.
Time and lighting
Photo quality depends heavily on lighting: its direction, softness, and even the amount of dust in the air. Dawn, midday, and sunset offer completely different conditions – but each has its strengths.
Morning: 5:30–8:00 AM
Early morning is the golden window for wildlife photography. Light is soft and diffused, with long, gentle shadows. This creates beautifully detailed images.
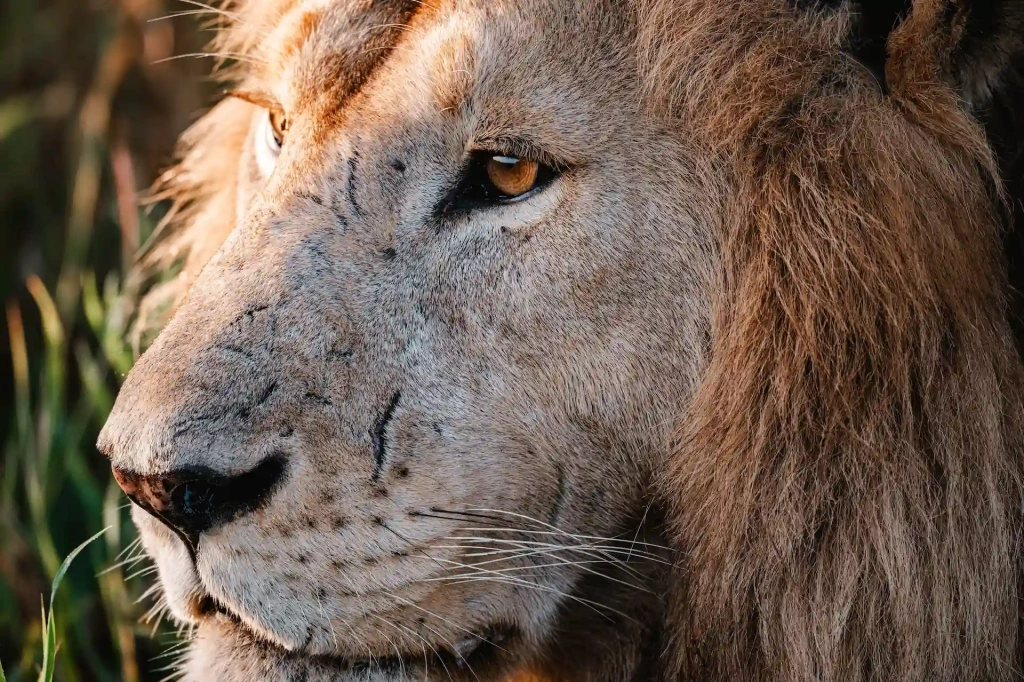
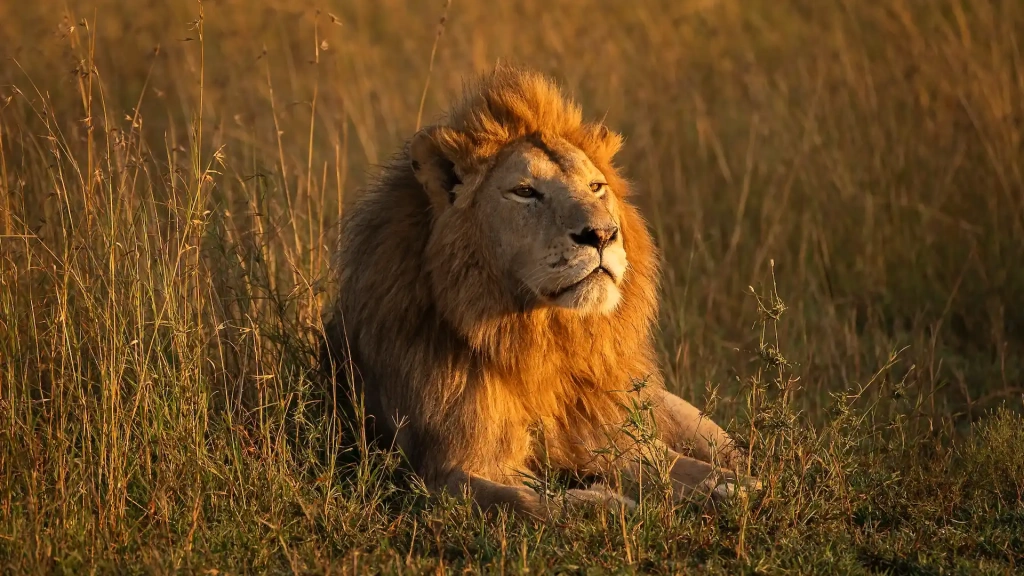
On safari, warm light reveals feather details or a lion's fur texture. At sunrise, use a bright lens (f/2.8–f/4) to capture high-quality images in low light.
Midday: 11:00 AM–3:00 PM
Midday sunlight is considered harsh for professional travel photography, but it can add impact to your shots. It creates strong contrast and emphasizes animal silhouettes against the horizon. Many large mammals rest in the shade, offering unique contrast scenes. Be mindful of exposure to avoid blown-out highlights or deep shadow loss.
Sunset: 5:00–6:30 PM
Evening is also known as the "golden hour." Lighting is strong but warm, with golden and orange tones. It enhances textures like fur and terrain, and backlighting (sun behind the subject) adds drama.
Manual mode is preferred for preserving detail. If light conditions are difficult, use semi-auto (Av mode) with exposure compensation to have more control over the lighting of your images.
British photographer Samuel Cox, who has worked with National Geographic, BBC Wildlife Magazine, and Africa Geographic, recommends shooting in open spaces during golden hour:
“There are fewer trees and bushes to block that beautiful light, and you can come away with some wonderfully lit images. You’ll also benefit from long shadows cast by your subject, and any dust or flies will be caught in those final moments of sunlight.”
Close-range shooting
A successful close-up is a rare and thrilling experience. On safari, this happens when animals choose to approach the road. Don’t forget to mute or disable your shutter sound and flash – even calm animals may get startled. Use:
- Focal length: 70–200 mm to avoid cropping or capturing unwanted elements.
- Aperture: f/2.8–f/5.6 to isolate the subject with a smooth background blur.
Long-range shooting
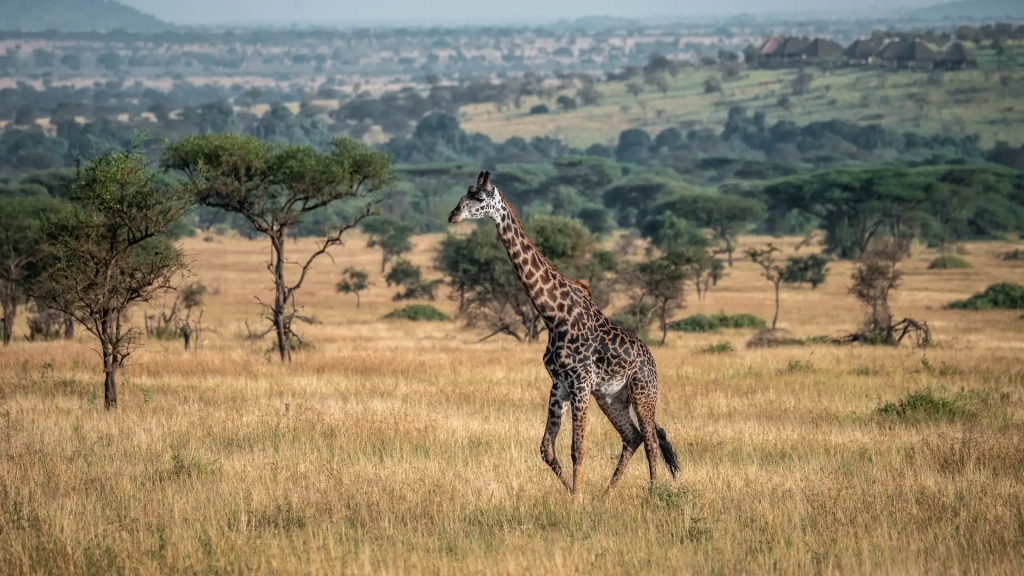
Some of the most expressive photos come when the animal is part of the scene – a giraffe by a lone tree, or a lion pride in the shade of an acacia. These require a special approach.
To capture striking images from a distance, use the following camera settings:
- Focal length: 300–600mm. Without a powerful telephoto lens, distant subjects will lack detail and impact.
- ISO: 400–800. A good balance between light sensitivity and image quality. On newer camera models, ISO 1600–3200 can be used with minimal noise.
- Aperture: f/6.3–f/8. Helps maintain enough depth of field to keep your subject sharp.
- Shutter speed: 1/1000 sec or faster. Prevents motion blur, especially when shooting handheld. For static subjects or if your camera has IBIS, you can get away with lower shutter speeds like 1/250 - 1/500
Capturing motion and dynamic scenes
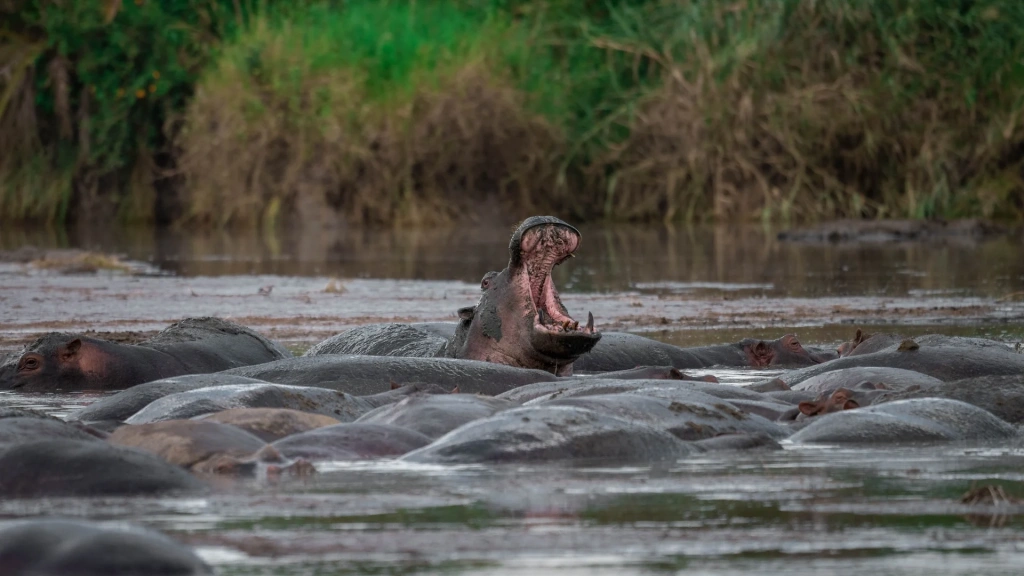
Photographing wildlife in motion requires a different approach. The goal is to anticipate the moment before it happens — a glance, a shift in posture, the tensing of muscles. Watch closely for these signals and try the following settings:
- Burst mode: 10 frames per second or higher. This is crucial for catching the peak moment of action.
- ISO: Auto, with a cap at 3200. Allows the camera to adapt quickly to changing light with minimal loss of image quality.
- Aperture: f/5.6–f/8. Keeps enough depth and sharpness to ensure the subject stands out.
- Shutter speed: 1/1600 sec or faster. Essential for freezing movement — like a leap or a bird in flight.
“More and more, with wildlife photography I find myself using auto-ISO setting in order to maintain a fast enough shutter speed. <...>. It is also quite useful when needing to shoot quickly. I find, when a subject moves from low light to bright light, this method is VERY helpful as well, ” advises Jeff Schultz.
Wildlife photographer Samuel Cox, on the other hand, emphasizes prioritizing shutter speed over ISO. He notes that noise can be corrected in post-processing, but a blurry photo can’t be fixed.
A few words on post-processing
When editing wildlife photos, your goal shouldn't be to artificially “enhance” the scene — it’s to reveal the beauty that was already there. Here are a few tips:
- Shoot in RAW. Professional photographers always recommend RAW format, which retains all image data — detail, color, light, and shadow. Unlike JPEG, which compresses the image, RAW allows you to adjust exposure, white balance, and dynamic range without quality loss.
- Focus starts with the eyes. The animal’s eyes are the emotional anchor of your photo. Even if the rest is slightly soft, a sharp gaze makes the image work. Just be careful not to oversharpen in post.
- Be gentle with colors and white balance. Morning and evening light are ideal, but cameras sometimes misread it — making it too cold or too warm. African savannas or forested mountains are vibrant, but they’re not neon. Subtle corrections work best.
“Photography is supposed to represent something that happened – it’s not supposed to represent a fantasy. When you want prints, you want depth so you do toning, contrast and saturation, but it’s within the limits of what that day looked like. If a sky becomes ominous and yet there was no storm that day, you’ve gone too far,” says Nick Nichols, former editor-in-chief of photography at National Geographic, known for his portraits of gorillas, chimps, and lions in Tanzania.
Frequently Asked Questions
What’s the best camera for wildlife photography?
A mirrorless or DSLR camera with a telephoto lens is ideal. Look for fast autofocus, good low-light performance, IBIS, and lens compatibility.
Beginner-friendly wildlife cameras include the Canon EOS R6 Mark II, Nikon Z8, Sony A6700, Fujifilm X-H2S, and OM System OM-1. Pair any of these with a suitable telephoto lens (such as 100-400mm) for excellent versatility on safari or in nature reserves.
Full-frame cameras like the R6 and Z8 offer superior low-light performance and better image quality, especially for large prints. APS-C models like the Sony A6700 and Fujifilm X-H2S are lighter and more affordable, with a crop factor that gives you extra reach — perfect for photographing distant subjects. The OM-1 (Micro Four Thirds) offers the most compact setup with exceptional zoom potential, making it great for travel and handheld shooting with a minor compromise on image quality.
What are the best camera settings for wildlife photography?
Use shutter priority or manual mode with 1/1000 sec or faster, Auto ISO (400–3200), and an aperture around f/5.6 to f/8. Enable continuous autofocus to track moving animals.
For walking safaris or treks, adjust to f/8–f/11, ISO 100–800, and a minimum 1/125 sec shutter speed. If your camera has image stabilization, keep it on. The goal is to freeze motion while maintaining sharp focus, even in changing light.
All content on Altezza Travel is created with expert insights and thorough research, in line with our Editorial Policy.
Want to know more about Tanzania adventures?
Get in touch with our team! We've explored all the top destinations across Tanzania. Our Kilimanjaro-based adventure consultants are ready to share tips and help you plan your unforgettable journey.


